Showing posts with label teaching writing. Show all posts

Saturday, April 26, 2014

Evidence in Writing Pt 2

In a June post, I noted an idea learned through the KY Writing Project- helping students find relevant evidence for points in an informational or argumentative piece. I was able to practice that in my classroom when we began an informational unit where students would be researching to support their main points. Before I get into that, let me explain how I go about helping my 8 graders develop their ideas for a research paper.

 First, students must decide upon their thesis. This article will explain... is our basic format and for higher level students I encourage them to go beyond that, using many models as support.

 Once students have developed their thesis, they are to develop three topic sentences, one for each point.

 Finally, they write their rough draft with NO research. Since we use bullying or cyberbullying, I know students can achieve that and this is why I use bullying/cyberbullying as our research paper topic. (I tell students my aim is not to teach you about bullying/cyberbullying, but to teach you about the research process.) Having students write FIRST before research, means less chance of plagiarism and they can successfully find research to support what they have said.

 After all this has been accomplished (with formative assessment checks along the way), students begin the research process. Since they have their topic sentence ideas- and after we have had a lesson on search terms- students are focused on what should be located in regards to research, rather than gathering every thing they find and becoming overwhelmed with information. Students used Google docs- typed their topic sentences in and under each copied and pasted a chunk of research that fit, as well as the full citation. We used KY Virtual Library as our main source, supplemented with no more than two Internet sources.

  Here are some quotes from students about the process we took:
"When we put the research under the topic sentences I felt that it helped provide structure and point us in the right direction to find what we needed." EB
" It was a good idea to collect research under each topic sentence. It helped sort our research out into parts so you didn’t just copy and paste it randomly on the research page and then have trouble finding your research for each section. It helped organize, at least my research, greatly." AB
" I did like writing our topic sentences first before we actually started our drafts, because it was a good way for us to gather our thoughts and really narrowed down the amount of research we had to do." ZB
" I liked collecting research under each topic sentence because it kept my research organized and it made sure I had research in all areas." LH
 And finally this quote where a student recognizes that if you research first, you might end up with little of your own thoughts/ideas:

"I learned that in order to form a research paper that is in, mostly, your words you must first write a draft in your own words without research. I did not know this before, usually I would research first and then build my paper off of that, which for me is a mistake. This is because the paper just ended up being just research with a few sentences of my own word."LK

 I was able to share my Teaching Assistant experience for Ashford University, where students would get plagiarism charges after reports from Turnitin revealed that the majority of their paper was from other sources rather than their own thoughts and ideas. And that while cited correctly, research should support the writer's ideas, not the other way around.


 Now, I do explain to students that it is easy to write a draft off the top of your head with a topic they know, but that later in high school or college it may not be that easy. Either way, developing your thesis and topic sentence ideasfirst  can still guide you as you research. We also practice A.C.E.- In this case, A is the Answer or topic sentence idea, C is the Cited research as support and E should be your Explanation or discussion, which should make up the majority of the paragraph.
 
 Now, on to the introduction lesson that led up to all this! I knew that students would have to locate relevant evidence for topic sentence ideas so I located many articles about healthy eating and exercise. An easy place to start, as most students have been inundated with this information for several years. Together we brainstormed everything it took to be healthy and broke them down together on chart paper into main ideas. From there we formulated topic sentences.

 The next day students entered to find desks in groups of 4 and manilla envelopes in the center with sentence strips and markers.

I placed the chart paper around the room- each sporting one topic sentence we developed from the day before. Students were to each pick one topic sentence and find an article that related to it, extracting a 'chunk of research' as support. One student placed each article out before the group- and each member had to decide which article would fit their selected topic sentence. They had to read (and we all know they skim it,  but that was dealt with soon after) and find relevant support.


They were to write their research chunk on the sentence strip and place it under the appropriate topic sentence.


 Things went well the first couple classes, but I felt it was too easy, and that students were not really reading, they were skimming,  so during my planning, I located several decoy articles. Ones that were related to exercise and diet, but not specific to the topic sentences themselves. I was surprised to find that in each class, at least one or two students gravitated to the decoy articles and were trying to use them as evidence. This offered an opportunity to discuss with them- HOW does this support the topic sentence idea?  As they began to verbalize how,  they soon realized it did not fit at all. This provided a short mini-lesson to the entire class- since all had seen those articles- to discuss why they did not fit our topic sentence ideas. I also asked them to be cognizant of the processes they were taking in determining the value of a particular source as support.

 Once students placed their research chunk under each topic sentence, we discussed paragraphing, relevant support and use of sources for support. Most importantly it gave them a glimpse of what research was like when facing multiple sources from which to extract research, some more valuable than others.


 Students did a gallery walk to view all evidence placed under the topic sentences, and they placed a check on the ones they felt were the strongest support for each topic sentence idea. We later discussed why some evidence was stronger than others. Some students also tried to use the ellipsis in their research chunks and this provided a good language usage lesson on successful use of the ellipsis.

 We also reflected on the question: "What process did you take to determine which article would be most helpful in supporting the topic sentence you selected?" Student answers were revealing. Some noted reading photos and captions, titles and subtitles while others read through carefully and of course some skimmed.This was an opportunity to discuss strategies good readers/researchers use to locate and find useful information.  In subsequent classes, we went back to this idea, discussing how a researcher can read the short blurbs under sites listed from a Google Search  or the short summary for articles found on KY Virtual Library. That rather than clicking on every thing found- one should pause to examine what they have found before plunging in and possibly wasting time and energy.

While it may seem like a no-brainer for middle school students to find relevant evidence, it is not. The decoy articles themselves proved that to me, as did other writing they did earlier in the year where they needed to extract support from the text they were reading.  This exercise provided many stop-and-reflect moments for my students, affording quick mini-lessons as well as a practice session for what they were about to embark upon- research for the first time.

This activity could easily be modified where the text - literature- a short story, poem, etc. could be the focus and the teacher selects a 'topic sentence idea' such as a character trait for the main character or an inference the teacher wants the students to see. This can become a close reading exercise in action.
Another idea is to see character change throughout a story- on chart paper place the  headings:
The character at the beginning
The character at the end
and have students place evidence from the text that portrays the character at these stages of the story.

The possibilities are numerous for such an activity and while it could be done on paper, individually, it gives those Kinesthetic and Logical students chances to shine as well! It also provided a model for how my students would be organizing their own research- under each topic sentence idea. Finally, you can check out my other blog posts- one in particular where students use padlet.com to post relevant evidence, and this technology tool could easily be used in the above lesson as well.

Saturday, November 9, 2013

Narrative Mini Lessons and Padlet


My Students are wrapping up their study of Narrative and Style which includes Narrative technique. Typically I focus on developing effective hooks, including context and a thesis in their introduction, and narrative techniques including show don’t tell, dialogue, etc. 

One activity I do each year includes reading a distinguished narrative to identify effective narrative techniques and a scavenger hunt for hooks. 

In October, we held our first On-Demand Scrimmage with two narrative prompts from which to choose and write in a 40 minute period. I had the extreme joy of reading all 130 of them during Fall break and from that reading, was able to select one narrative that was distinguished in its use of narrative technique (show don’t tell, dialogue, effect hook and thesis, strong word choice, etc.)

Once we returned I put students in small groups of 3 to 4, with a copy of that narrative (with student permission and name deleted) and their task was as follows:

  • ·         Each member is to list one narrative technique that was done well with example.

  • ·         Together, justify the distinguished score using the writing scoring rubric.

They had to share the one technique they each listed on their own paper and then come to a consensus on which one they felt was the most effective and why.  They also had good conversation as to why the narrative was a distinguished, which opened their eyes to key words on the rubric that indicate narrative techniques one might use. 

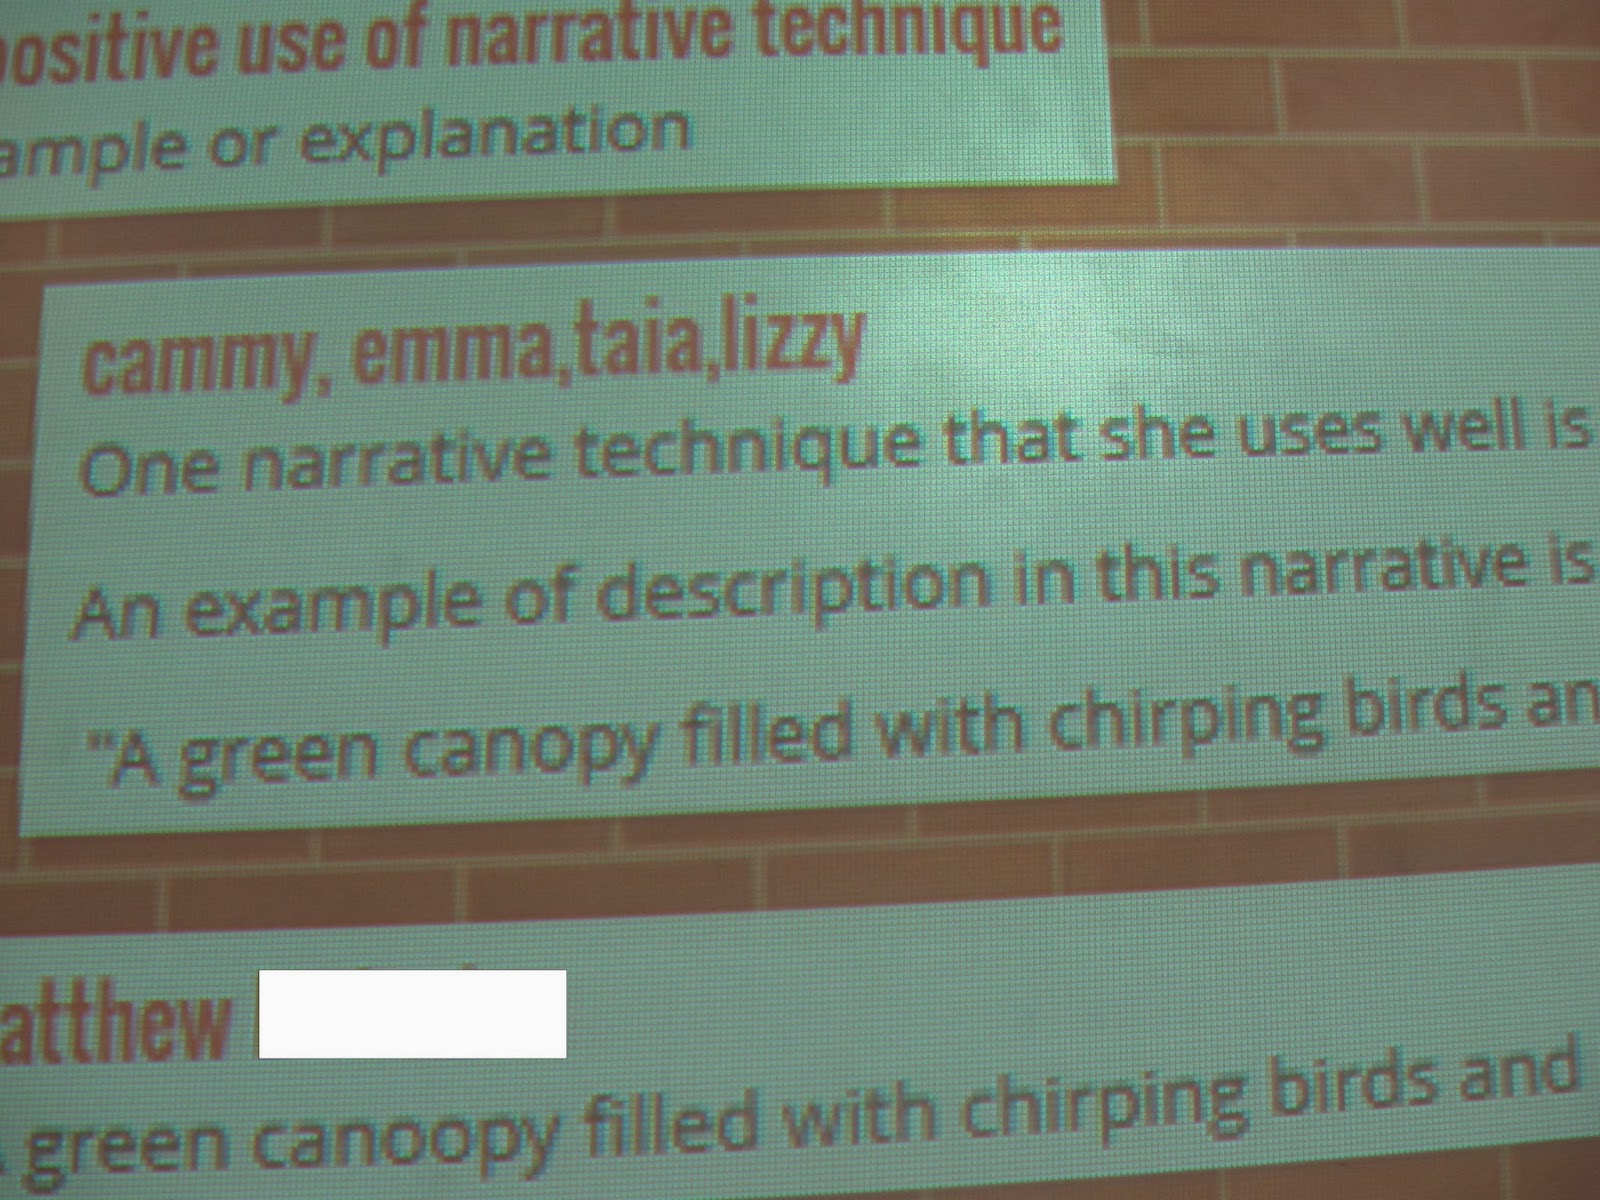
The next step was to send one group member to one of the four computers I have in my room and to use Padlet.com to list their most effective technique and an example or explanation. 


The rest of the group was to go to their own narratives and begin to make notes on what they might add to jazz up their writing.
I felt that every student was very motivated and all students were busily listing what they might add with no exceptions. I think seeing that it could be done, having a mentor text at their level,  and actually experiencing how good narrative technique can be incorporated,  influenced their own insight that they could also do the same in their own writing.
Toward the end of class, I refreshed Padlet on my whiteboard and students could see all responses, which we shared out to the whole class- again making notes on their own narratives as to what they might add. 
A screen shot of one class' contributions


The great thing about Padlet was that I could print or save it as a PDF and actually have more samples of hooks  to use  for future instruction! Less work for me, since the students were the ones who did the discovering and the work in typing them.

Another activity we did was a scavenger hunt for good hooks/effective leads.  We had taken notes in our journals on the types of hooks/leads and looked at and labeled types of hooks I had previously gathered from NPR’s  This I Believe site of hundreds of essays. (I copy the entire introduction, because later we also label the context and thesis statements as well.) 
In our activity, Students had to look through young adult novels and children’s books (that I had and our librarian gathered on a cart for us) and had to list two hooks found and label each with the type of hook.
From there, students participated in a carousel activity where they each had to list one hook on large chart paper that had been labeled with the types- they had to find the appropriate labeled chart paper and write their hook down with the title of the book. (We had some good conversation on citations, use of quotation marks around exact words and how to punctuate a book title). 

Next step, you guessed it! After sharing out to the whole class, they had to  go to their own narrative and create two types of hooks for their own- each labeled with the type of hook. I was thrilled with some of their creations- Devon created this one:  “I couldn’t believe he had bit me. Again!” 

By reviewing the hooks, I was able to see who was getting it and who was not and put smileys by really effective hooks to help students decide on which one they would ultimately use.
I include this activity not just because it is a narrative activity, but because Padlet could have easily been used for this activity as well.
Incorporating technology and student discussion is easy when you have a well-developed plan and a tool like Padlet at your fingertips (for free!)

Thursday, October 10, 2013

Blogging in the Middle

Surprisingly, most middle school students I've polled, know about blogs, but simply have never tried it. Blogging is a type of informational writing, it can be persuasive/argumentative and it can even be personal. Last year I tried blogging with my students for the first time, but I went the easy route- creating an informational blog page on a topic of interest. While I could have incorporated the technology aspect of creating a blog page, there were many roadblocks. First, Access to technology is not readily available to all students from home and time in school can be constrictive when trying to cover content. Second, my school does not allow my students to go to any ole' website to create a blog since almost all require email addresses and/or have advertising on those pages.  I did come across Kid Blog, which, like Edmodo, has a code for students to enter and no email is required. So, while I will probably try that this year, I still think this activity is well worth the effort for many reasons.

The first step was to have kids brainstorm about a hobby, topic they are invested in, etc. They had to choose something they know a lot about so they wouldn't just go to websites and copy and paste information. While they were aloud to do some research, (great way to incorporate CCS 7- Conduct short as well as more sustained research projects to answer a question (including a self-generated question) or solve a problem; narrow or broaden the inquiry when appropriate; synthesize multiple sources on the subject, demonstrating understanding of the subject under investigation.)  they had to provide a link to that information within their blog page and it had to be at a minimum since I wanted it to be their writing and not that of a website.

Next, Students had to write a rough draft of their blog page- I made it a minimum of three paragraphs. From there we investigated various blogs- what are the parts, how are they written? etc. Some good resources to check out include:
LiveBinder of Resources about Kid Bloggin   AND
http://wheretostartwithwikisandblogs.wikispaces.com/Wiki+Blog+rules+for+kidsKids and Wikis and Blogs   Specifics for kids and blogging.

You might create questions that students can answer through a scavenger hunt using these sites.

Once we have viewed blogs online, learned about the parts and how the blog is written, we began to design our own blog page. I have used a template in the past, but the easiest way to go is have students go to Google and type in Blog Page Template under images. Students can model their template after a variety of images without making them all cookie-cutter. In the middle of their page, their three paragraph blog writing had to be the focus. They were required to have a header, a Blog name, at least one graphic, and a sidebar, with links to other sites about their topic. Below are just a few that students created!


Topics such as NFL, Austrian Shepherds, Soccer, Music and ADD, to name only a few, are what's on our middle school students' minds.

I showcase many of the student blogs on a bulletin board with the title : Blog About It! 


My Visual-Spatial and even Kinesthetic kids loved this activity since they were creating something by hand. Obviously my Verbal-Linguistic students loved sharing their fave topic in writing. And since students were able to choose their own topic, all were highly invested in this project.  The Informational CCS 2 was well covered during this mini-unit.
Extensions can include- Commenting appropriately-Grammar Girl Blog Comment Tips

Which leads to another aspect of a blog post- engaging your audience- Students were required to engage their audience at the end of the blog post so that students had an idea to grasp in order to respond. Once our blogs were finished, students received Post-it Notes and they were able to read the blog posts in a gallery walk, posting comments onto the blog with their Post-It. We discussed revision after this activity- what comments surprised you? Did you realize you left important information out? What would you add or change given the audience reaction/comments?  etc.

Blogging with students does not have to be uncontrollable- which is how many teachers see having 130 students blogging on a website. How do you keep up with all that? How do you grade it? You can visit my Technology Resource page which houses many links to blog/wiki rubrics and ideas:
My Site for Everything Blogs and Wikis

 Blogging on Paper is a first great step to introducing the mechanics of a blog and its contents and can be a great stepping stone to creating a blog online.

Sunday, September 22, 2013

Understanding the Language of the Rubric


Have you ever noticed that most state writing rubrics are somewhat hard to fully understand? Particularly for kids and maybe not so much for teachers, the language of the rubric can be confusing, subjective and vague. I'm not saying that the following activities will fully shed light on meaning, but it can at least provide a start for students to begin to understand what each component means and how to get there.

The first step I take is to have students look at each level of the rubric. The KY Writing Rubric goes from a zero to a four- with four being distinguished. KY has set the goal for all students to be at a three- proficient. I begin by having students highlight the language changes from apprentice (two) to proficient (three). What are the changes in language from a two to a three? Highlight those. We hold a class discussion about those changes and what that looks like/what it means in our writing.


Highlighting changes in language of rubric
Students proceed to also note the changes in language from a three- proficient to a four- distinguished. Again we hold a class discussion on those wording changes and what they mean for our writing.

Pictures Speak Louder Than Words

The next project I undertake to help students understand specific language in the rubric is a great activity for visual/spatial students in particular, but great for all students since "pictures speak louder than words". Students are put into small groups and assigned one element of the rubric- Sentence structure, Organization, Idea development,  Correctness,  Language, or Purpose/Audience. Students were tasked to use key words and images to represent the rubric idea they were assigned. With me acting as guide on the side, my students produced some pretty impressive visuals of each rubric element.


I tape all six elements into one huge rubric (I try to make two large "student friendly" rubrics for classes to refer to.) 

Here is a close-up of a "Purpose/Audience" Depiction done by a very artistic group of students:


While the language in a writing rubric can be vague and subjective, there are ways to help students grasp major concepts needed in their writing. Closely examining changes in language from one level to another and visually representing major components needed in good writing are just two ideas that you might try to begin to explore and understand what is needed in Proficient Writing.

Sunday, August 18, 2013

Using Picture Books in Middle School Writing


The Common Core State Standards ask for more rigorous reading and writing, but does that discount use of picture books in classroom instruction? I say, absolutely not. The simple fact is that mentor texts are often hard to come by. We have a variety of abilities in each class, and writing is often looked at as, well, boring. At our fingertips, we have material that is interesting and colorful, pulling in the disinterested; we have mentor texts that start at a basic level (although you will see that many picture books are not so “basic” after all), providing a place to begin for all students and providing success from the start.


Personal Writing


Any of Patricia Polacco’s books are excellent mentor texts for personal writing, as well as examples of  development of character, conflict, setting, etc.  Before diving into more complex mentor texts, try using one of her picture books as a mentor text. Two that come to mind right away include Mr. Lincoln’s Way and Thank You Mr. Falker. Both books are excellent examples of memoirs as well as a personal story revealing a change in the major character.


First off, both books offer great “Hooks.”

Mr. Lincoln’s Way: “Mr. Lincoln was the coolest principal in the whole world, or so the students thought.” Students can discuss how the first sentence/paragraph “hooks” a reader, then go on a scavenger hunt through other picture books or young adult novels to find other interesting ways authors start their works. As a higher level activity, students might then categorize the hooks they found, sharing out as a whole in the class to create a class chart that lists types of hooks and examples. Students can also use predicting skills to reveal what they think will occur or what the story will be about as a result of the first “hook” or lead line.


Secondly, both books offer some great figurative language/language usage.

Thank You Mr. Falker: “Knowledge is like the bee that made that sweet honey, you have to chase it through the pages of a book!”

As you can see, this simile is pretty deep and not something that an elementary student may readily grasp. But middle school students have the ability to delve into the meaning of this simile and to uncover its meaning. Polacco’s books are loaded with figurative language; students can use them to go on a scavenger hunt and to work with partners to uncover the meaning.


Finally, both books offer thoughts and feelings and use of dialogue.

It can be difficult to teach dialogue, but in picture books that use this element, students find it easier to grasp- how the dialogue is used to move the story along, how the dialogue is formatted and punctuated, etc. All can be investigated through Polacco’s picture books. In addition, when writing a personal piece, thoughts and feelings is a crucial element. Polacco’s Thank You Mr. Falker, is full of thoughts and feelings. The teacher might provide excerpts and have students highlight those thoughts and feelings, revealing how and where they are used, as well as to what extent they are used throughout the story.


Other Picture Books I Love:

Why Mosquitoes Buzz in People’s Ear by Verna Aardema

I love to read Pourquoi tales- stories about the origin of an animal’s coloring, size, etc. In the seventh grade, students read Pourquoi tales, starting with the mosquito book, and we developed our own. They were imaginative and fun to read!


Zin! Zin! Zin! A Violin by Lloyd Moss

Introduce this book when studying onomatopoeia! It is full of sound words that students can respond to – highlighting them in excerpts, holding up a hand when they hear one, etc. Students can practice their own onomatopoeia in like fashion.


Nothing Ever Happens on 90th Street by Roni Schotter

I love this book at the start of the year. Students always cry about having “nothing to write about.”  As I read, students list each piece of advice that is given to the main character as she searches for something to write about.  For example, “Try to find poetry in your pudding,” Mr. Morley said softly. “There’s always a new way with old words.”  Students can work in partners to decipher what each character meant and how it applies to our writing.

Students also list what the main character thinks as events occur that prompt her to write:  “What if? What might happen next?” Etc.


Abbie Against the Storm by Marcia Vaughan

One of my absolute favorites is a true story of a young girl and a lighthouse, depicting heroism. I love this because it shows that even kids can be heroes. This book is rich in figurative language, strong verbs, dialogue, thoughts and feelings and use of adjectives.  Beyond that, it is a fast-paced story with strong character development, conflict and setting. Students can choose a character trait for Abbie and find quotes that support; students can identify strong verbs or pull out figurative language and decipher the meaning. This book is also a great book to graph on a plot chart; a simple start before moving on to more complex text.  Students might also partake in an exercise involving setting. Why is the setting important to the story? What if the setting were elsewhere? How would it change the story? Students might take the challenge, and create their own story of Abbie in a different setting.


I love picture books in  the middle school! They simply are the most interesting forms of literature that provide excellent mentor texts for writers, can provide examples of various elements of literature through mini-lessons, and instill motivation and success by starting “simple.” You will find, however, that there really is nothing “simple” about picture books; they reach into our imagination and spark our motivation quicker than any black text on white paper.

Note: Picture book images taken from Amazon.com 
Check out Other Picture Book Ideas in the SDAWP #113 Texts Initiative- http://www.sdawpvoices.com/link-up-113texts-mentor-text-challenge-august-link-up/